1. Preparation before disassembly Drain the gearbox oil, remove the USB flash drive, and carefully check the impurities of the residual oil. Generally speaking, dark brown or black powder is the wear of the clutch disc, and the bright white metal powder is the wear of the oil pump, single clutch, and gear mechanism. This can further verify the accuracy of the original judgment.
2. Remove the gearbox from the car. Due to the limitation of the shape and position of the body floor, it is often not enough to remove the gearbox directly from the rear of the engine. The most reliable way is to hang it from the car together with the engine, but this method A lot of auxiliary work needs to be added, which is suitable for use when the engine itself needs to be disassembled and overhauled. When the engine is overhauled separately, the rear support of the engine can be loosened to make the rear of the engine fall to free up space on the upper part of the gearbox and facilitate disassembly. When the box is pulled away from the engine, it should be pulled in the axial direction, which can be accompanied by rotation around the axis in the forward and reverse directions, but it must not swing up and down, so as not to damage the surface condition and Cooperate.

3. Disassembly and assembly of the gearbox ① Prepare tools and small boxes containing various parts, and disassemble them on a clean and flat operation platform. If there is no maintenance manual for the car, prepare a record book and mark Tape strip. ②The disassembly should start from the front oil pump, from front to back, and gradually from the outside to the inside, and keep a record at any time. ③The automatic transmission housing is mostly made of aluminum alloy. When disassembling, it is strictly forbidden to use crowbars and iron tools to strike directly. ④When disassembling the hydraulic control valve body, you should be careful. When the upper and lower valve bodies are separated, prevent the balls, snap rings, etc. from falling off the ground, and remember the correct position accurately. ⑤When disassembling and inspecting the one-way clutch, pay attention to its correct assembling direction. When assembling, it must not be reversed. ⑥After the parts are disassembled, they should be cleaned with gasoline and dried with low-pressure compressed air. Do not use cotton yarns that easily drop fibers to wipe valve parts. ⑦In principle, wearing parts such as O-rings on the cushion should be replaced with new parts after disassembly, and it is not allowed to reuse the husband, deformed and worn wearing parts. ⑧The new clutch plates and brake plates should be soaked in the transmission oil, and they can be assembled only after the oil has been sucked up. ⑨When the valve core, piston, seals, etc. are assembled, they should be coated with transmission oil. ⑩When assembling, tighten the screws strictly according to the specified torque.
Preparation before disassembly:
Check the gearbox model and ask the parts supplier about the supply of gearbox parts of this model. If the minimum wearing parts and necessary replacement parts cannot be guaranteed, they should not be disassembled immediately. For rare car types, this is particularly important. Generally, do not disassemble first, find the damaged parts and then find the accessories. Doing so will often cause an embarrassing situation that cannot be recovered due to difficulties in accessories and damage to seal rings and gaskets after disassembly.
Drain the gearbox oil, remove the USB, and carefully check the impurities of the residual oil. Generally speaking, the dark brown or black powder is the wear of the clutch disc, and the bright white metal powder is the wear of the oil pump, the single clutch, and the gear mechanism. This can further verify the accuracy of the original judgment.
Remove the gearbox from the car:
Due to the limitation of the shape and position of the body floor, it is often not enough to remove the gearbox directly from the rear of the engine. The most reliable way is to hang it from the car together with the engine, but this method requires a lot of auxiliary work and is suitable for the engine itself. It is also used when disassembly and overhaul are needed.
When the engine is separately inspected, the rear support of the engine can be loosened to make the rear part of the engine fall to free up the space on the upper part of the gearbox and facilitate disassembly.
When pulling the gearbox away from the engine, it should be pulled along the axial direction, which can be accompanied by rotation around the axis in the forward and reverse directions, but it must not swing up and down, so as not to damage the surface of the transmission input shaft and the fluid coupling or torque converter connection part Status and cooperation.

The disassembly and assembly of the gearbox:
Prepare tools and small boxes containing various parts, and disassemble them on a clean and flat operation platform. If there is no maintenance manual for the car, prepare a record book and marking tape.
The disassembly should start from the front oil pump, from front to back, gradually from the outside to the inside, and keep a record at any time.
Most automatic transmission housings are made of aluminum alloy. When disassembling, it is strictly forbidden to use crowbars and iron tools to strike directly.
When disassembling the hydraulic control valve body, you should be careful to prevent the ball, snap ring, etc. from falling off the ground when the upper and lower valve bodies are separated, and remember the correct position accurately.
When disassembling and inspecting the one-way clutch, pay attention to its correct assembling direction, and never reverse it when assembling it.
After the parts are disassembled, they should be cleaned with gasoline and blown dry with low-pressure compressed air. Do not use cotton yarn, which is easy to lose fibers, to wipe valve parts.
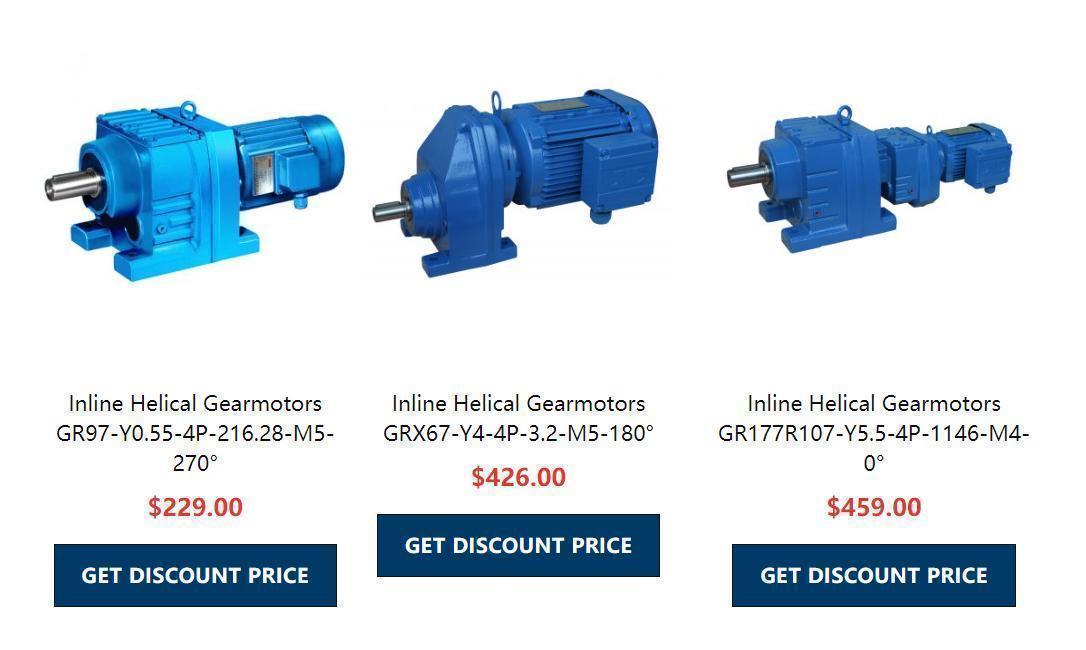
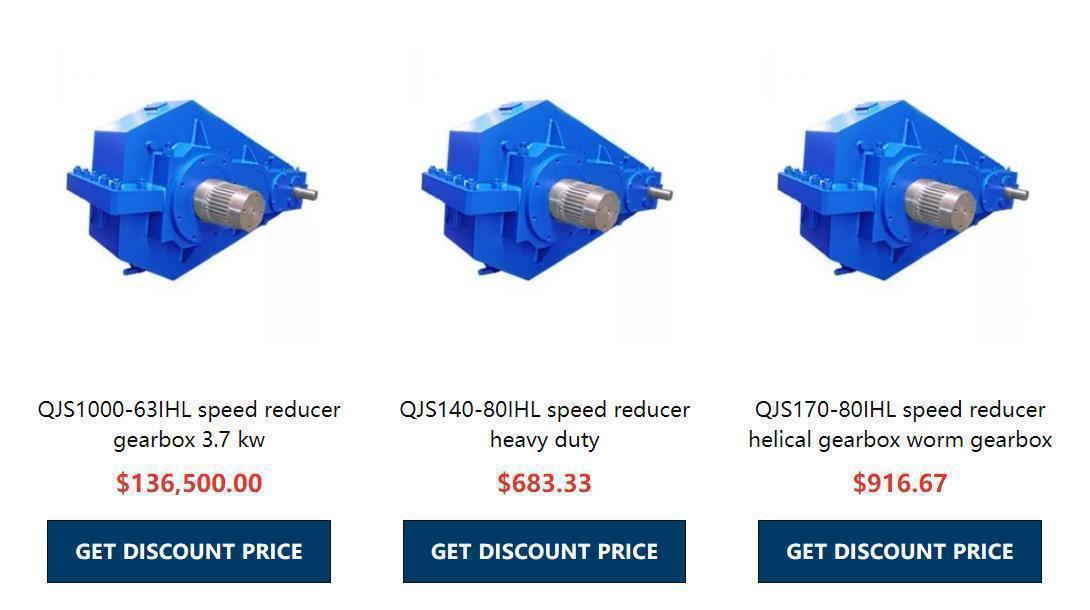
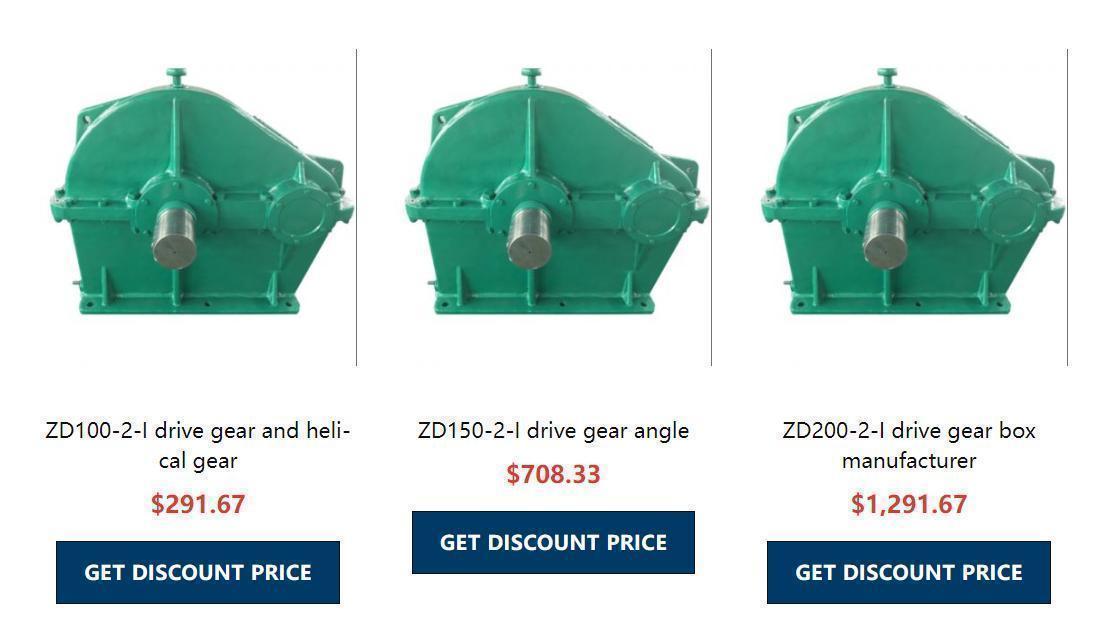
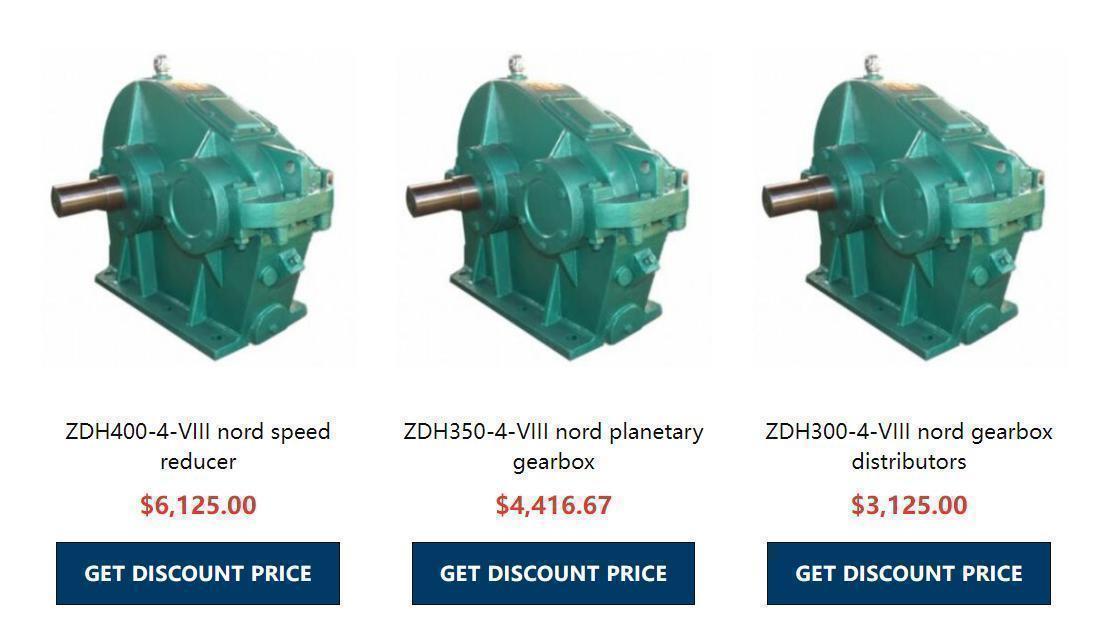
product category
1. Classified by working power
According to the different working power of the motor, it can be divided into DC motor and AC motor. Among them, AC motors are also divided into single-phase motors and three-phase motors.
2. Classified by structure and working principle
Motors can be divided into DC motors, asynchronous motors and synchronous motors according to their structure and working principle. Synchronous motors can also be divided into permanent magnet synchronous motors, reluctance synchronous motors and hysteresis motors. Asynchronous motors can be divided into induction motors and AC commutator motors. Induction motors are divided into three-phase asynchronous motors and so on.
Phase asynchronous motor and shaded pole asynchronous motor, etc. AC commutator motors are divided into single-phase series motors, AC and DC dual-purpose motors and repulsion motors.
3. Classified by starting and running mode
Motors can be divided into capacitor-starting single-phase asynchronous motors, capacitor-operating single-phase asynchronous motors, capacitor-starting single-phase asynchronous motors, and split-phase single-phase asynchronous motors.
4. Classified by purpose
Motors can be divided into driving motors and control motors according to their uses. Driving motors are divided into electric tools (including drilling, polishing, polishing, slotting, cutting, reaming, etc.) motors, household appliances (including washing machines, electric fans, refrigerators, air conditioners, tape recorders, video recorders, and DVDs). Motors for machines, vacuum cleaners, cameras, hair dryers, electric shavers, etc.) and other general small machinery equipment (including various small machine tools, small machinery, medical equipment, electronic instruments, etc.). Control motors are divided into stepping motors and servo motors.

5. According to the structure of the rotor
Motors can be divided into cage induction motors (called squirrel cage asynchronous motors in the old standard) and wound rotor induction motors (called wound asynchronous motors in the old standard) according to the structure of the rotor.
6. Classified by operating speed
Motors can be divided into high-speed motors, low-speed motors, constant-speed motors, and speed-regulating motors according to their operating speed.
Disassembly method:
1. First remove the universal joint screw to separate the universal joint of the transmission and the transmission shaft; then remove the clutch cover screw to separate the transmission and the clutch; if it is a remotely controlled transmission, separate the operating mechanism from the transmission body. Remove the transmission from the car. 2. Clean the sludge and dirt on the outside of the transmission, and pay attention to protecting the front and rear shaft ends. 3. Unscrew the oil drain plug, drain off the lubricating oil in the transmission, and re-arrange the oil plug. 4. Find a clean and dust-free site, use disassembly tools and copper rods, and start disassembling the transmission. The disassembly sequence is generally: transmission cover, first shaft, second shaft, intermediate shaft, reverse gear shaft. 5. When disassembling the parts, take good care of the original direction and position of the parts before disassembling. If necessary, make a record; the disassembled parts are arranged in order according to the order of disassembly, and the parts are arranged neatly. When necessary, the parts can be arranged in order with wire or wire String together; the gear can be sleeved on the shaft in the original direction and position to prevent wrong or missing installation.

6. All the disassembled parts should be cleaned and inspected accordingly. If they cannot be used, they should be replaced; the oil seals and gaskets that have been disassembled should generally not be used but should be replaced. 7. Before assembly, apply gear oil or engine oil to the bearings, oil seals, keyways on the shaft, the inner holes of the gears, and the bearing holes of the transmission case, and soak the paper pad to be replaced with engine oil. 8. The assembly sequence is opposite to the disassembly sequence, that is, the removed parts are installed first, so that all parts are installed in their original positions. 9. Before installing the transmission cover, check the site for missing parts, each axis and Whether the fixed gear has axial movement, whether the paper pads are in good condition, whether each pair of meshing gears meshes within the full tooth width; dial the sliding gear by hand to see if it can move axially to the full tooth width meshing; turn it by hand For the first axis, try each gear separately, and it should be able to rotate flexibly and stably without jamming. 10. Install and fix the shift fork to the corresponding shift fork shaft, and then install the shift fork shaft into the corresponding hole of the transmission cover. When installing the fork shaft, pay attention to install the self-locking mechanism and the interlocking mechanism into the corresponding holes.
The side with three grooves on the fork shaft corresponds to the direction of the steel ball of the positive self-locking mechanism. The fork shaft has a groove on the other side. Side alignment interlocking mechanism. After the fork shafts are installed in place, put them in the neutral position, and the sliding gears in the transmission mechanism are also placed in the neutral position. Install the transmission cover on the transmission box. At this time, the forks are installed in the corresponding position. In the gear slot, install the connecting bolts, and tighten the bolts in the specified order and torque. Use the shift lever to hook in different gears, and check whether the gear can be successfully geared in turn. If it can’t be hooked up, you can gently turn it back and forth with your hands. If the first shaft still cannot be hung up, remove the box cover and check.

A motor is a device that converts electrical energy into mechanical energy. It uses energized coils (that is, stator windings) to generate a rotating magnetic field and act on the rotor (such as a squirrel-cage closed aluminum frame) to form a magneto-electric power rotating torque. Motors are divided into DC motors and AC motors according to different power sources. Most of the motors in the power system are AC motors, which can be synchronous motors or asynchronous motors (motor stator magnetic field speed and rotor rotation speed do not maintain synchronous speed). The motor is mainly composed of a stator and a rotor. The direction of the force movement of the energized wire in the magnetic field is related to the direction of the current and the direction of the magnetic line of induction (the direction of the magnetic field). The working principle of the motor is the action of the magnetic field on the force of the current to make the motor rotate.